I didn’t expect to stay there long, but the quality of the park and trails was pretty amazing, so I decided to do the long green loops. They have multiple camping areas, a general store, lots of outhouses and picnic areas, and so many signs that there’s no chance someone with no sense of direction (like me!) could get lost!
Maprika has what might be the most detailed and clear map ever. You couldn’t get lost if you tried! Heck, even Google Maps had most of the trails labeled! My Jeep’s Uconnect was spot in as well.
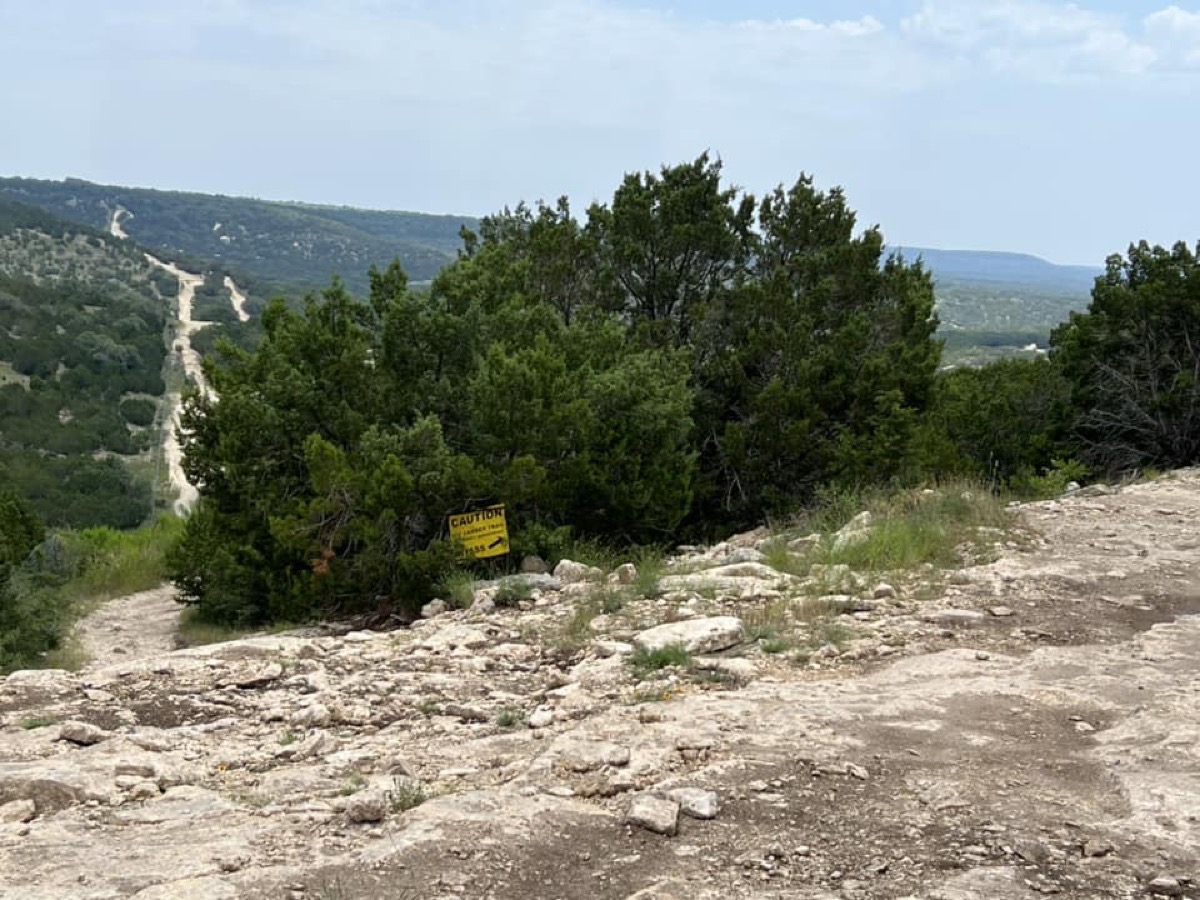
Most of the pictures I tool were of the signs. Detailed, and some were humorous. 🙂
Big Bend’s off road trails are closed until further notice. So I decided to take a few days off and visit some Florida Highway Patrol buddies helping our border agents at Eagle Pass, TX. On the way back I plan to visit Hidden Falls Adventure Park, which is only open Thu-Sun. That ought’a hold me until my Colorado trip in Aug. 🙂
To prep for this trip, I had my front door windows tinted. This was on my todo list for months but it didn’t get hot enough to get it done. Well, the weather stations are predicting 100° temperatures for the next couple weeks. So I started to ask around for some recommendations.
The consensus was to have Custom Car Stereo and Tint in Carrollton, TX do the work. Nothing beats all your buddies recommending the same place! So I had them install 15% tint on my front door windows. They did an awesome job. Very precise, clean work. I can recommend them without hesitation. I’m all set for the Summer!
Custom Car Stereo and Tint, Carrollton, TX.
I stayed a couple nights at Motel 6 in Eagle Pass. Couldn’t get close enough to the river to get pictures. Security is very tight around here. I’m probably in the safest hotel in town, because of the dozens of Florida Highway Patrol cars parked at the hotel. Gotta love it when selfless caring officers go above and beyond to provide safety and security. Thanks to Governor Abbott for helping to preserve law and order at the border.
Paying our border agents a visit.Motel 6 is the safest place in town.
I thought about crossing the southern border long enough to take a photo of Koda and the Jeep at the huge Mexico flag. The agents told me I just need a valid US Drivers License. But then they told me it is illegal to carry a weapon into Mexico. There was no place to secure it for my 10 minute Mexico excursion. Oh well, maybe next time. I do have Baja, Mexico on my 2024/2025 wish list.
I’m staying at the La Quinta at Marble Falls for the night. Hoping to join some Jeeps at Hidden Falls Adventure Park tomorrow. Strange storms with black skies and horizontal lightning in the area, so it’ll be muddy for sure!
UPDATE: Adding a Cobra 75 All Road AM/FM CB radio to the mix. I’m updating the pictures on this blob post and republishing it. The CB body is mounted to the front end of my Goose Gear full platform. The Bluetooth mic is kept in the glovebox.
Once I had my HAM and GMRS faceplates mounted securely to a Lido LM-L-MAX seat rail bracket bolted onto the front left passenger seat bolt, and my CB Bluetooth mic in the glovebox, the next task on my list was to put the three radio bodies in a secure and hidden location. At first I thought about mounting them inside the Goose Gear platform cubby hole behind the driver’s seat, I decided against it since I want my recovery gear in the closest cubby hole.
I decided to route power for all three of my radios to my LiFePO4 off grid battery. This made the wiring so much easier. It also helps preserve my the Jeep battery charge. I have my ARB Dual onboard compressor (CKMA12) mounted under the passenger seat, so I had to come up with a mounting platform so I could put the three radio bodies under the driver’s seat. I didn’t realize there was so much room under there. I decided to mount the HAM and GMRS radios on a piece of 3/8″ finished plywood, secured to a 2″ x 1/8″ aluminum strip, attached to the two rear driver seat rail bolts.
OmniGraffle diagram. Grey is the aluminum bar, black is the seat rails.
There was plenty of room to mount the radio bodies side by side, fans facing forward. This provided the best ventilation, and allowed plenty of room for cable management. There’s even enough room to insert/eject the microSD card used to back up and program the HAM radio.
Luckily I had a jigsaw with blades for all types of metals and wood. So cutting the plywood and aluminum bar was easy peasy. I used a Dremel to finish the cut sides to prevent sharp edges on the aluminum bar, and splinters on the plywood. I had plenty of stainless steel bolts of all sizes, and nylock bolts, and washers.
Once I had the 1/2″ holes drilled on the ends of the aluminum bar, and the two 3/8″ holes in the center of the wood piece, it was easy to put it all together. Mounting the radio brackets and the radios onto the brackets was a bit of a challenge (think race condition).
Once the new platform was all assembled, I used four M10-1.50 hardened steel bolts to reattach the seat rails to the floor of the Jeep. I placed the kit with the aluminum holes over the seat rail holes, and I put the seat rails over the aluminum bar holes. They aligned perfectly, so I put the bolts in but kept them loose until the end.
I put the two front driver seat rail bolts in and tightened them down, then circled back to tighten down the rear bolts. I was expecting a wrestling match with some contortionism, but I was happy that things just fell into place. I slid the driver seat back and forth, plenty of room over the radios.
After finishing the wiring, I was very surprised how easy it was to do. It’s true that Goose Gear platform is the overlander’s dream come true.